I wanted to create a simple stencil to tag some of the things I have and will build. This is not high precision, but it gets the job done.
Check out the video tutorial and then keep reading.
First you need a logo. I'm using my WardWorks logo. Next, you need a For Sale/For Lease sign. The thinner the plastic the easier to cut.
Print out the logo for the stencil. I used my Ward Works logo. I deleted any colors to save from using so much printer ink.
It's best to cut on a cutting mat. I used a hobby knife and a straight edge for most of the cut. As you can see, I was overzealous in cutting the first W. I taped the vertical piece back on.
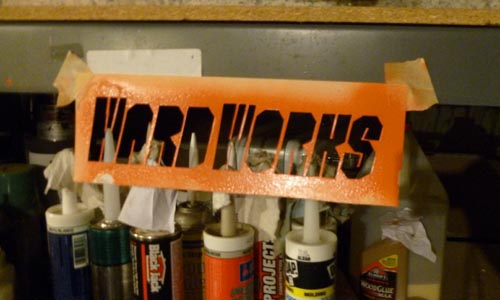
I started by spraying black to block out the stencil area. I then held the stencil over the black and painted white. The white paint sprayed out in globs, but I was undeterred. Next I shifted the stencil slightly up and to the right and sprayed the orange. I like the result and I like the over spray.


No comments:
Post a Comment