

Click File>New on the menu bar or key in ctrl+n.
The canvas needs to have an equal width and height, between 500 and 1000 pixels. Set the resolution to 72 pixels.
Use the rounded rectangle tool to draw the rectangle. Experiment with a different radius until it looks right.

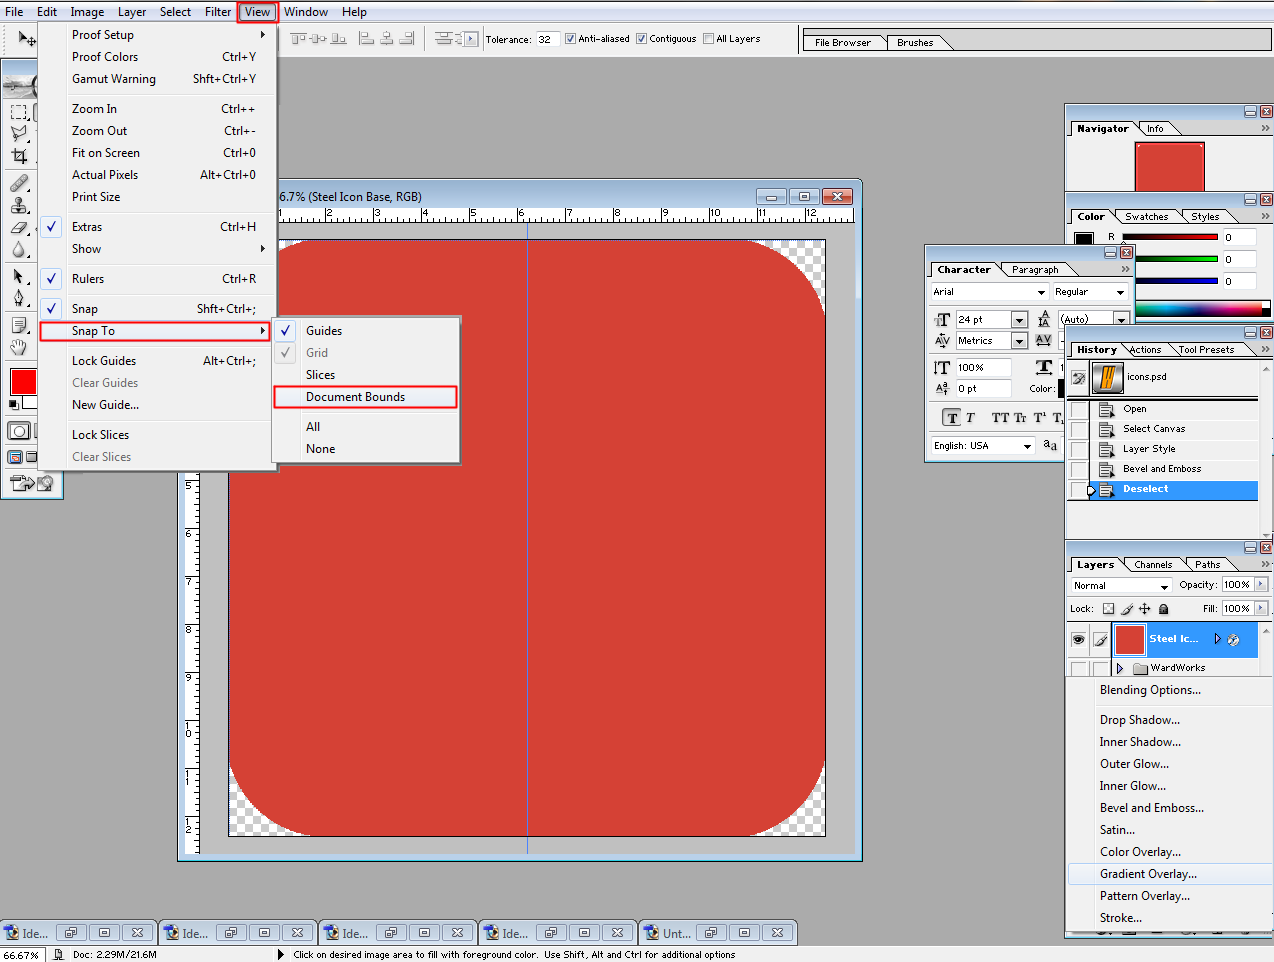
Then key in ctrl+t to scale the square to the extents of the document. Ensure the view>snap to>document boards is checked.
Click the gradient overlay layer style.
Then click on the gradient image. Set the control points by clicking. Opacity is the top box, color is the bottom. Set the colors as needed. Then click ok.

Next check bevel and emboss, and set the bevel size. Also check the contour option, the default settings are fine.

The gradient and bevel should be complete.


Click layer styles and add a stroke and inner glow to the 'f'. Set the stroke to black and set the inner glow to black with a 60% opacity. This will give the cut out depth.

Click on the steel gradient layer, then ctrl click the 'f' layer. Key in delete to remove the 'f' from the gradient layer. The process is the same regardless of the shape.

Alternatively, you could have used the pen tool to trace the 'f', then right click and select fill path. This would produce a cleaner outline, but since the icon will be a reduced size, it won't be noticeable.
The icons height and width can be set in the code- 32 or 48 pixels is a good starting point.
No comments:
Post a Comment