

With efficiency on my mind I wondered if I could rearrange my shop to be streamlined. Of course I could.
2025 edit: I started this post in 2018. What started as a lighting upgrade also became more receptacles and then became a full fledged layout analysis. I rearranged my entire shop, painted the walls, added ceiling panels, installed dust collection and built a workbench. Somehow this post was never published at the time despite the time stamp. I was sidetracked by scope creep. I never got completed images.
During my lighting upgrade, in which I intended to add a few quad receptacles, I began thinking I wanted to rearrange my shop. I didn't want to install receptacles, if the location wasn't going to be correct down the road.
Since I didn't want to rearrange physically and try the 'will this fit method' before concluding it won't and expending lots of energy, I
modeled everything roughly in Sketchup, getting the overall size of equipment.
This
allowed me to quickly rearrange equipment and determine if it did fit
before physically moving it. I went through more than a few configurations before I got it 'right.'
A simple light upgrade became much more. I had just added things piece by piece without an overall plan. When I first got the shop space it had a rickety 2x4 work bench with just a 1/8" paneling top. That was still in the shop until this project.
I also only had two incandescent bulbs, which I soon upgraded to six. That too has already changed.
Once the plan was set, I upgraded the receptacles.
All of this started due to trying to figure out the
position for receptacles. I have a number things that need to invariably be
plugged in. That includes just stationary tools, there are many hand
tools as well.
Purchasing List:
(12) white painted hardboard panels 4'x8' - $14 ea.
(5) gallons of Sherwin Williams Loxon block primer finish $184 - They often have a 30% off sale
coarse screws/ fenderwashers to attach ceiling - $5/$9
(1) 4'x8' plywood for cabinet counter - $40
Total Cost: $406
Planning
The first questions were where do I work, what equipment do I use together, what am I using and how?
Things I use together need to be grouped together. My goal was to reduce wandering around the shop as much as I could. Drill bits should be with the drill press, not in a tool box on the opposite wall in the first place I put them before I had a drill press.
Putting them together would save walking back and forth. I frequently move from the workbench to the drill press, so they needed to be close. This was the methodology to begin placement of the equipment.
I
started in Sketchup, first drawing the existing plan before starting with a blank plan and all the equipment next to the room. I began what I thought was
ideal placement. I have a few constraints with ducts running below the joists and
my very tall vacuum former. That limits where the vac former can go which began dictating the floor plan.


I wanted the drill press and belt sander directly adjacent to the work bench as I use those tools frequently.
While I've known I needed a good workbench, the space planning only reinforced that. I've been using my table saw top as a work bench. A good work bench would also provide good storage right where I needed it- where I am most of the time in my shop. My future workbench would be at the center. The table saw would be close to the garage door since that's where big pieces of stock will enter.


Removing cabinets and tables I didn't need freed up space. My previous governing idea was to make things mobile so I could pack equipment in a corner and pull it out as needed, but having it always available made much more sense. Streamlining the fit and function would make the whole area work better. When equipment was in the corner, I just didn't use it.
While setting this up, I began researching dust collection. I factored that in to the setup.
Painting & Adding a Ceiling
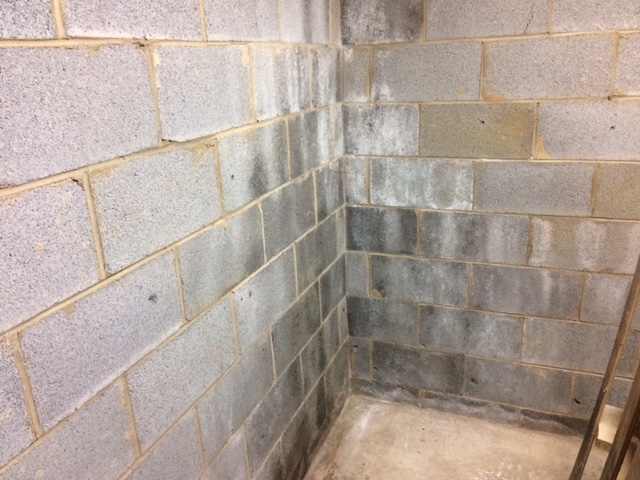
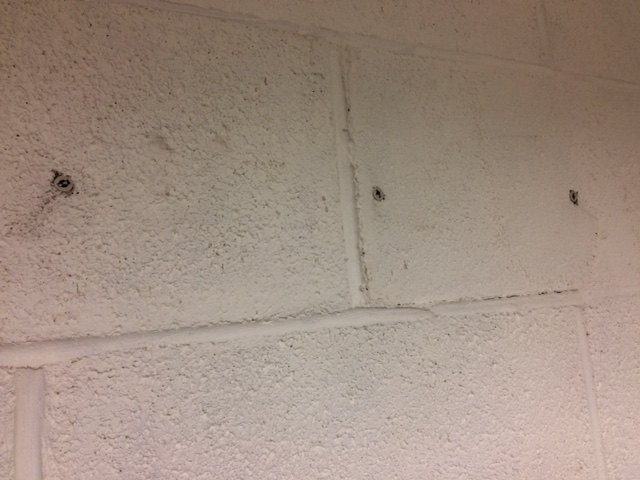
I decided to paint the concrete block walls and add a panel ceiling. This required removing what I could from the shop and pulling everything else off the walls and packing it in the middle of the floor.
I had 510 sf of wall. The coverage is 80-125 sf per gallon and I just about 4.5 gallons. One coat can be a bit thin, but I was trying to stretch the paint as far
as I could. I did a second coat just on visible portions of the wall
from 3' and above. My first coat was by no means thin, I ensured I got a good coat on the block, filling the porous surface and any pinholes on the first coat.
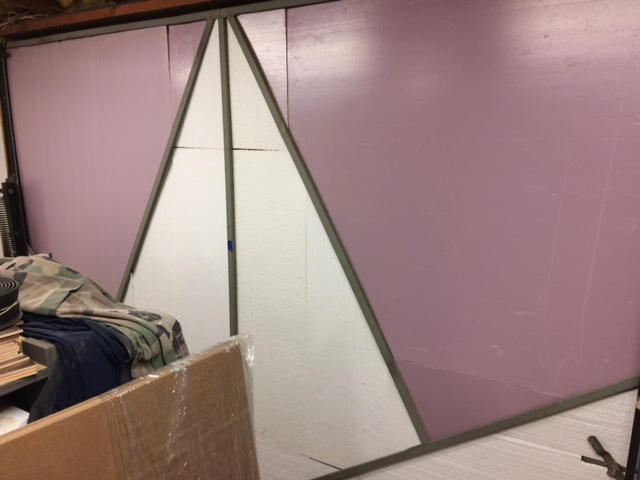
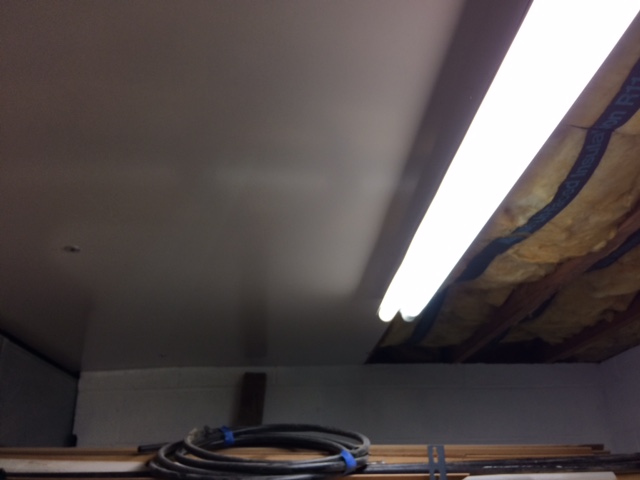
The ceiling panels are prefinished hardboard. I wanted the panels removable as I've run wires between and through the joists before. The idea struck me to just do screws and blocks into the joists between panels. I later revised that idea for fender washers.
It's easier to cut the panels in 4' sections. I wish I had done that. It would have been easier to handle and attach. I notched the panels for lights, pipes, garage track hangers, etc as I went along.
Cabinets & Shelves
I used existing cabinets along my tool wall. They weren't the same height, so I added 5" of height to one of the cabinets. I used 3/4" plywood and dowels to raise the height.
I did have to build a countertop for that cabinet. I recessed a portion of it for the chop saw. The counter is 3/4" plywood.
I built two sets of shelves to fit in corners. Organization is key to keep the shop neat. These would have otherwise been dead corners. The shelves are made from 1x3's and 3/4" plywood. I painted them white since my walls and ceiling are now white.
Equipment Placement
The work bench will be the center of the shop, the only issue was that I didn't yet have a work bench. The table saw is at the end of the workbench closest to the garage door. The bench serves as out feed when needed.
The band saw is at the other end of the workbench. I do have a wood stove in the garage. I used (2) layers of concrete board on the end of the cabinet next to the stove. I hardly ever use the stove, but made provisions just in case.
I have power tools running along one wall. I put quad outlets every so often and my dust collection pipe also runs along this wall.
Two quads are also above the workbench. My ceilings are short, otherwise I would have added a drop.
I arranged the storage shelves in the corner. One holds materials, etc and the other hand held power tools. I built a shelf in the corner so I have 8' of storage on the top shelf.


No comments:
Post a Comment