
 |
| The sealed letter. |
 |
| The finished scroll. |
-Open your favorite word processor and find an "Old English" font. Type your message and print it on typical computer paper.
-You will need a tea kettle, a tea bag, a glass bowl, and a baking pan. Heat water in the tea kettle until boiling, pour into a glass bowl and add the tea bag. Once the water is a warm brown (I waited fifteen minutes), pour it into your baking pan. Add the paper to the pan, and submerge it in the tea. I like to add a little less tea than what would completely cover the paper, just to get variation in the color.
-Let it sit. I left it for thirty minutes. I would tilt the pan to swish the tea around periodically.
Once saturated, you can tear corners, distress edges, and wrinkle the paper. Be careful as it will tear very easily if you are not careful.
-Let your paper air dry. Over night should be sufficient.
-Scroll time. I took a wood dowel I had lying around and cut it to length; six inches longer than the paper. On my hunt to find decorative ends, I had what appeared to be communion cups. I glued them on the ends of the wood dowels using Testor's Glue, alternatively crazy glue or a similar substitute would work. You could use a variety of around the house items for the end caps..
 |
| The decorative end caps, filled with drywall compound. |
-Once done, I filled the cup with drywall compound. Wood filler, would have worked, as well as caulk. Drywall compound was nearby, and the cups are brittle, so if the drywall compound cracks, chances are the cups will have already cracked.
-I let it dry over night. Then I painted it with a beige spray paint. Again, it was on hand. Any light color will work for this tutorial. Tans are best since we are going for a wood look. I let the paint dry overnight. I measured the length of my paper, and drew a straight line centered across the dowel to mark the spot of the slot. I will glue the paper into this slot for a nice clean edge and extra holding power.
-Before gluing the paper, apply brown acrylic paint for a nice mottled texture.I used a glove finger to apply the paint.
-A dremel cut off wheel is perfect for cutting the slot. It doesn't have to be very deep.
 |
| The slot was filled with glue and the paper inserted in the slot for a clean edge. |
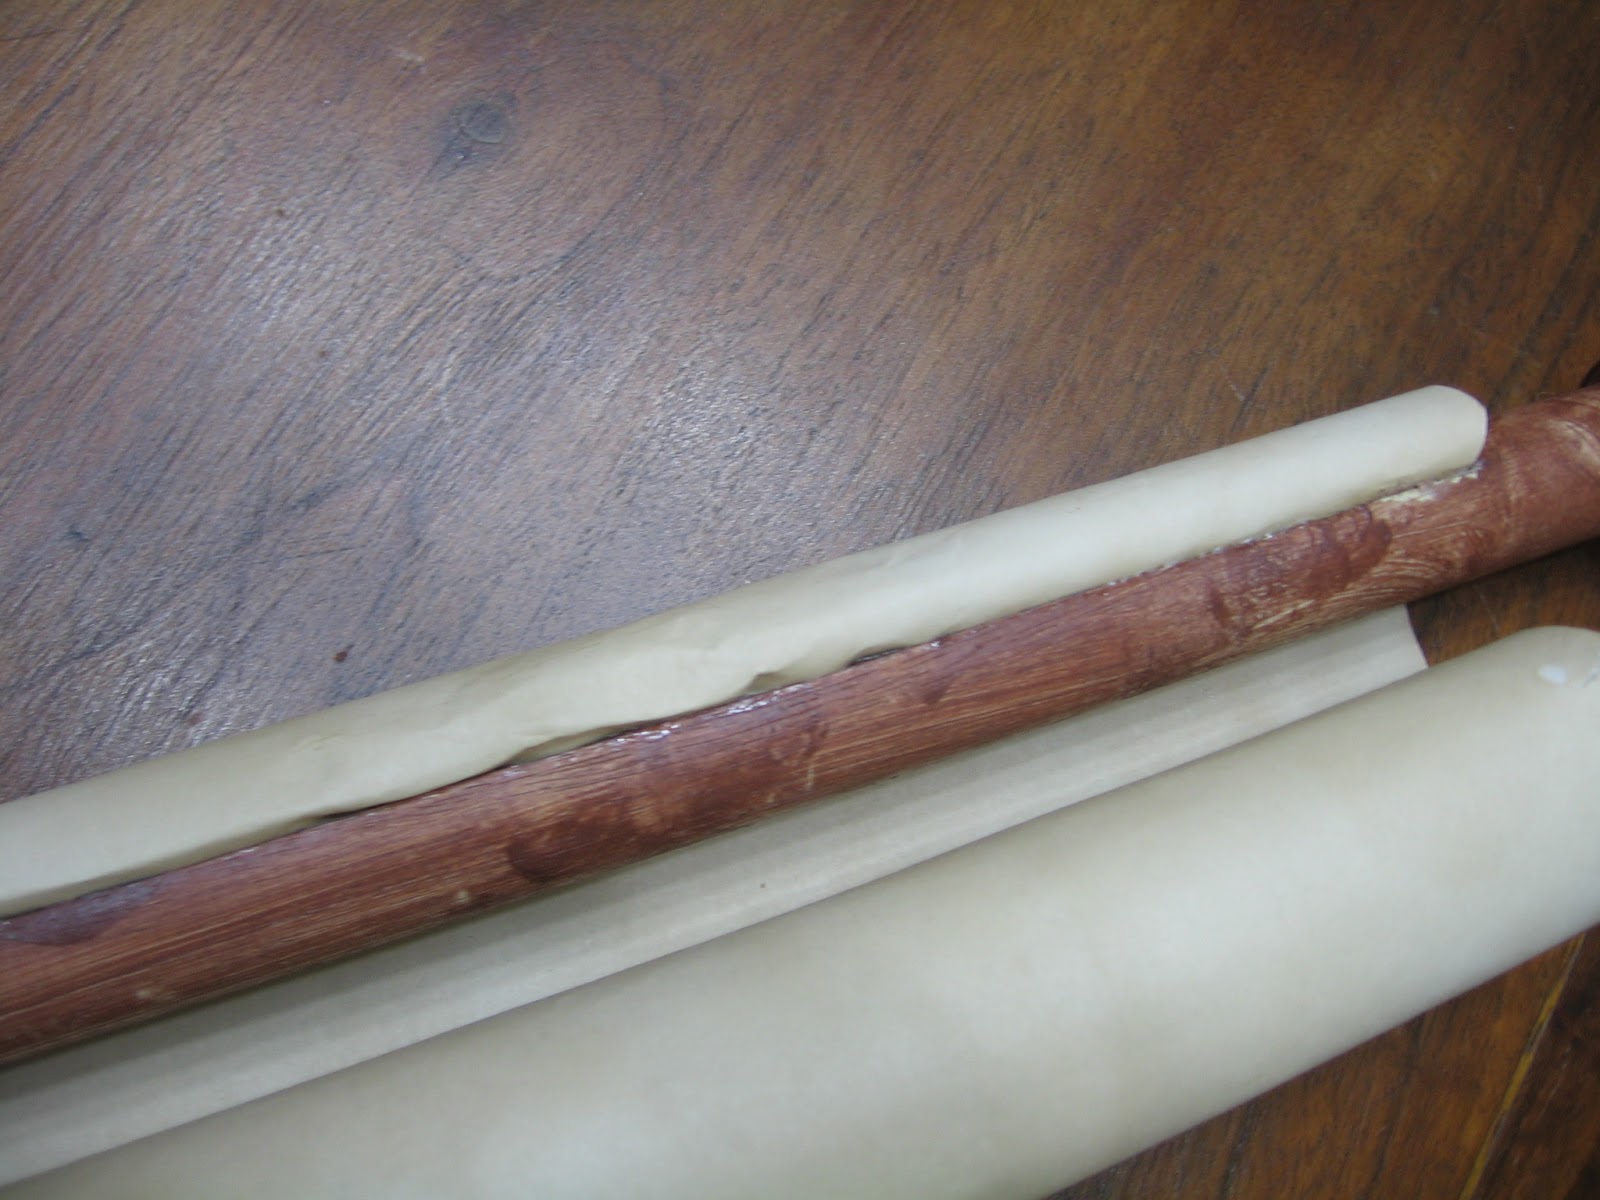
-I again used Testor's glue, applying it to the slot I made on both dowels. While I used a razor blade, a paperclip could works as well, to push the paper into the glue filled slot. I aligned the edge of the paper just over the slot and used the blade to push the paper into the slot.
-Once dry you have yourself a great prop scroll.
-Back to our letter. I folded the letter.into thirds. A medieval era letter needs a wax seal. It's a small detail, but adds a great deal of authenticity (I use this term lightly). I found a red candle and a star pin. I had contemplated using a wheel from a toy car or a marker top.
 |
| The fancy looking wax seal. |
-Heat the wax and create a nice puddle the size of your 'seal' over the edge of the paper. Press the 'seal' into the wax. Hold it for a minute as the wax cools. You can slightly move your 'seal' a bit to see if the wax is dry. If the wax shifts at all, it's not dry.
-Remove your 'seal'. It should come out with little trouble. Make sure the wax does not seep over the edges of your 'seal' to ease in removal. I took a razor blade and cut along the wax as I wanted the letter able to open and didn't want to risk damaging the wax.
You should now have an ancient look letter or scroll in your hands.
Thanks for reading!
No comments:
Post a Comment